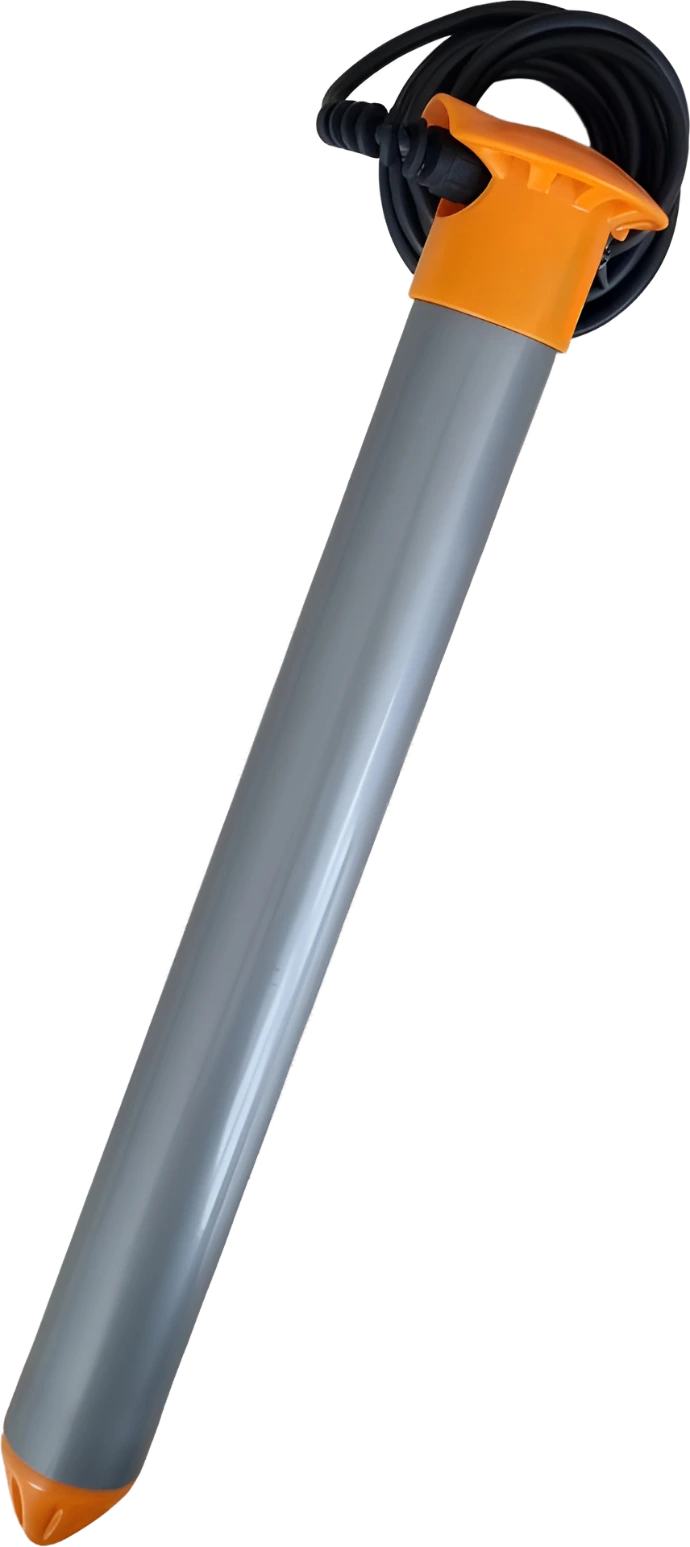
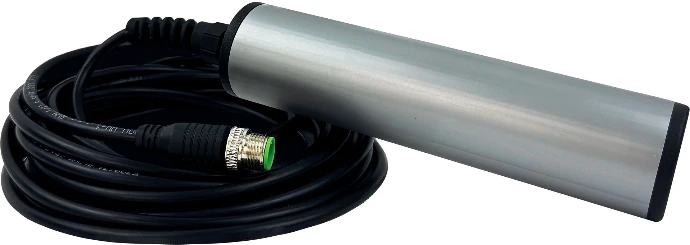
How do I install my  and
and  probe?
The location should be chosen to be as representative as possible of the plot and the irrigation zone to be monitored. Always look for areas that are neither too dry nor too wet, so as to establish a true average that accurately reflects the entire zone being monitored.
It can also be useful to place a probe in atypical areas where you notice yield losses or growth anomalies. This will help you better understand what is happening in the soil at that specific location and compare it to the typical profile recorded with a second probe.
We offer an installation guide below.
Step 1
Prepare the location
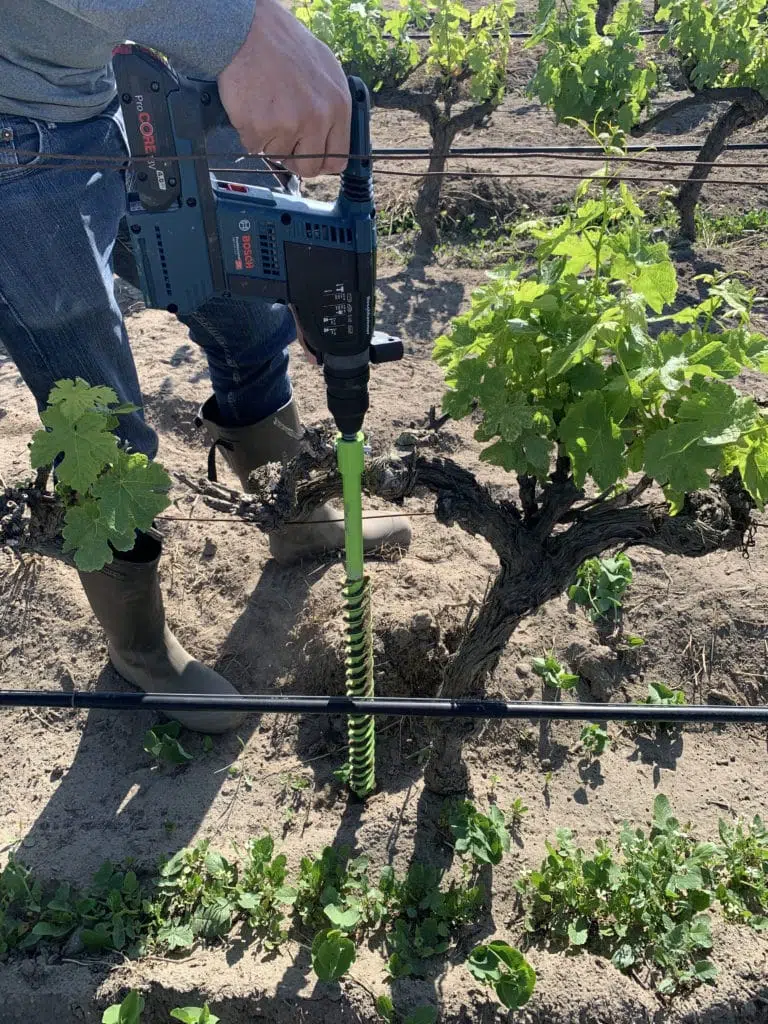
The HydraScout or HydraSolo probe is installed
using a manual auger or a rotary hammer fitted with a bit of suitable diameter (39 or 40 mm).
The chosen location should be halfway between the driest spot and the wettest spot: in this vineyard, for example,
the probe was installed at 1/4 of the distance between two successive drippers.
Step 2
Adjust the depth
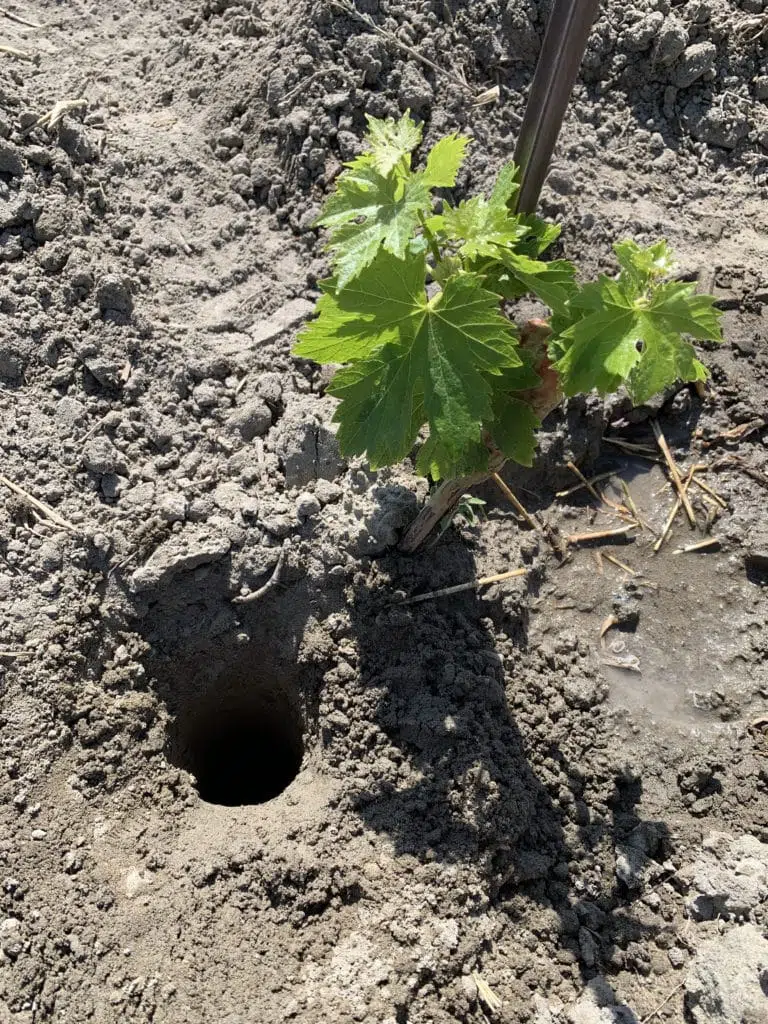
The depth of the hole varies depending
on the length of the probe to be installed.
It is chosen according to the type of crop to be monitored
and the soil characteristics of the plot.
Step 3
Prepare the slurry
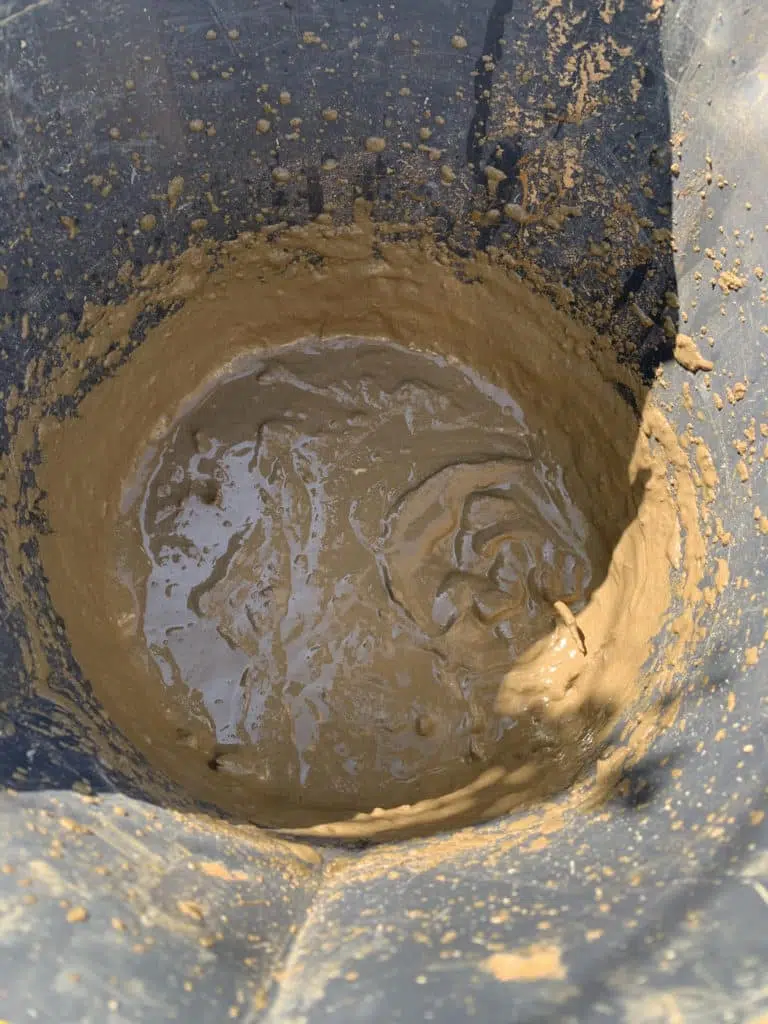
A slurry is a mud-based mixture
used to create good contact between the probe and the soil.
To prepare it, the soil collected from the auger is placed in a bucket
and water is added. The mixture is then blended using a mixer or any other suitable mixing tool.
The amount of slurry needed varies depending on the size of the probe.
Step 4
Adjust the texture and pour
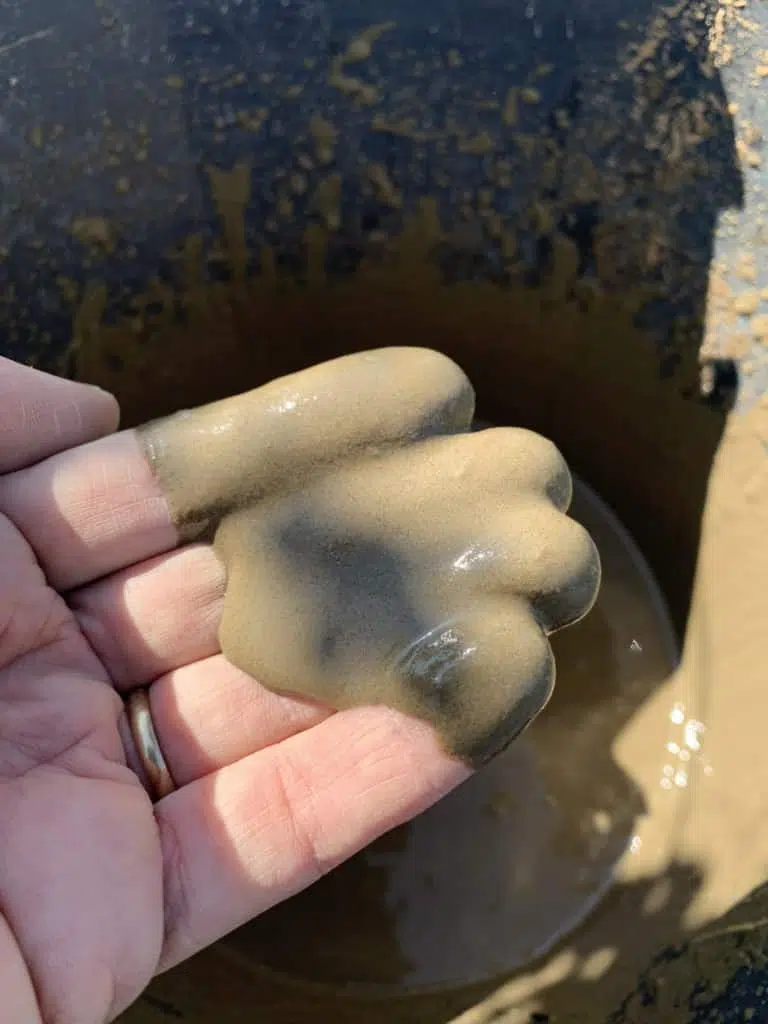
Except in sandy soils, the goal is to achieve a fine slurry,
free of plant debris or stones, so that all air bubbles are pushed out when the probe is inserted.
The resulting slurry ("pralin") is then poured into the hole, before inserting the probe.
Step 5
Install the
or probe
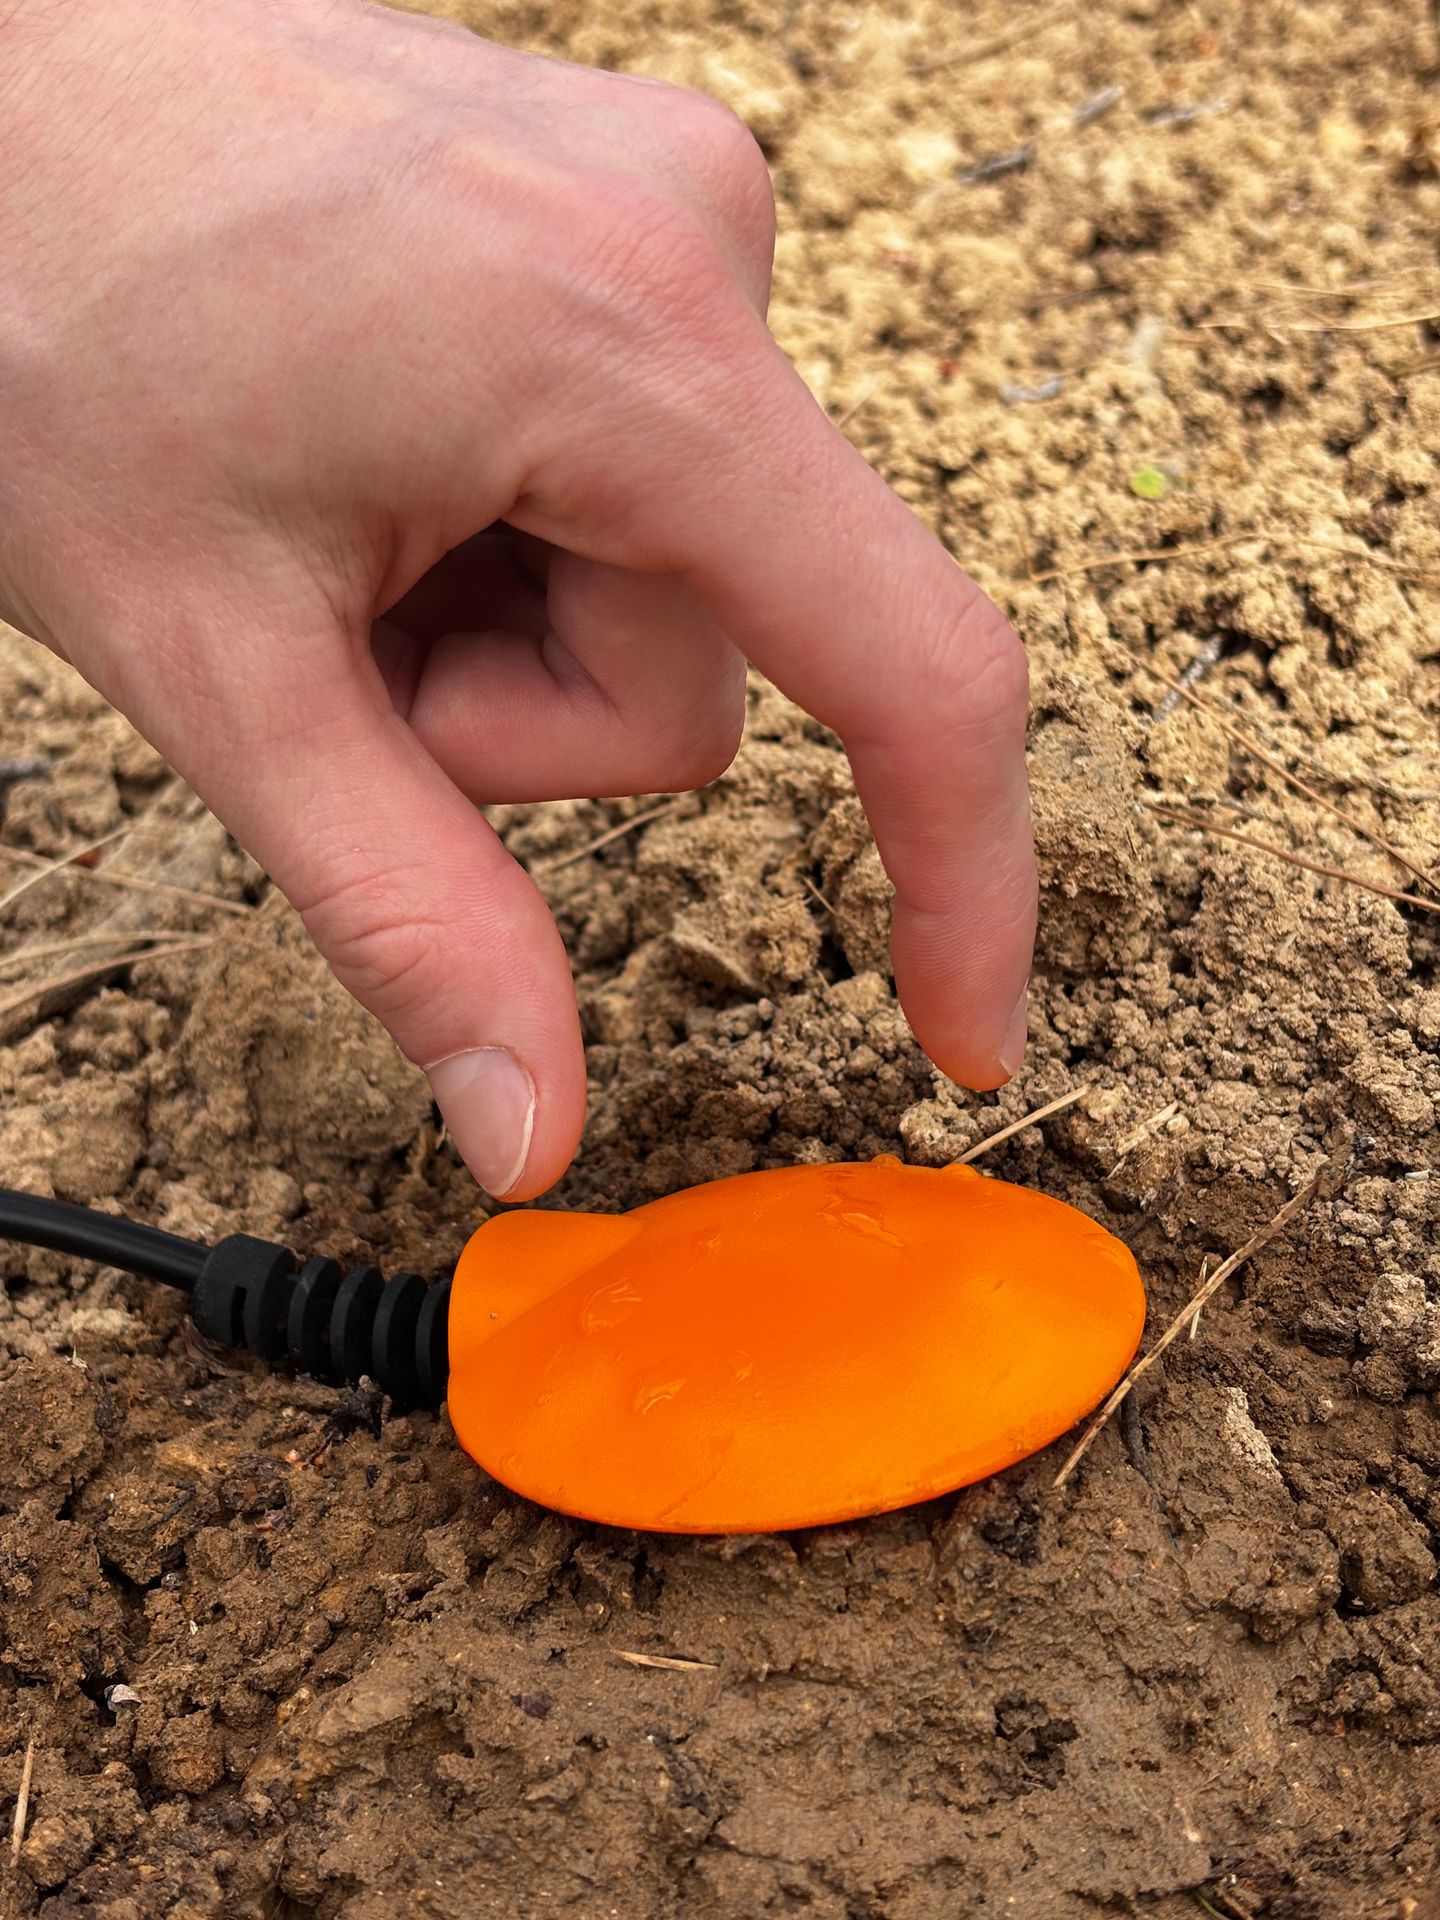
Insert the probe into the hole after the slurry has been poured in. Make sure it is properly in place before inserting the probe, in order to avoid air bubbles.
Position the probe so that its top is flush with the ground surface, as shown in the photo.
To make it easier to locate the probe in the field, a wooden stake can be added nearby. However, avoid using any metal elements (such as an iron stake), as they may interfere with the measurements.
Étape 6
Install the datalogger
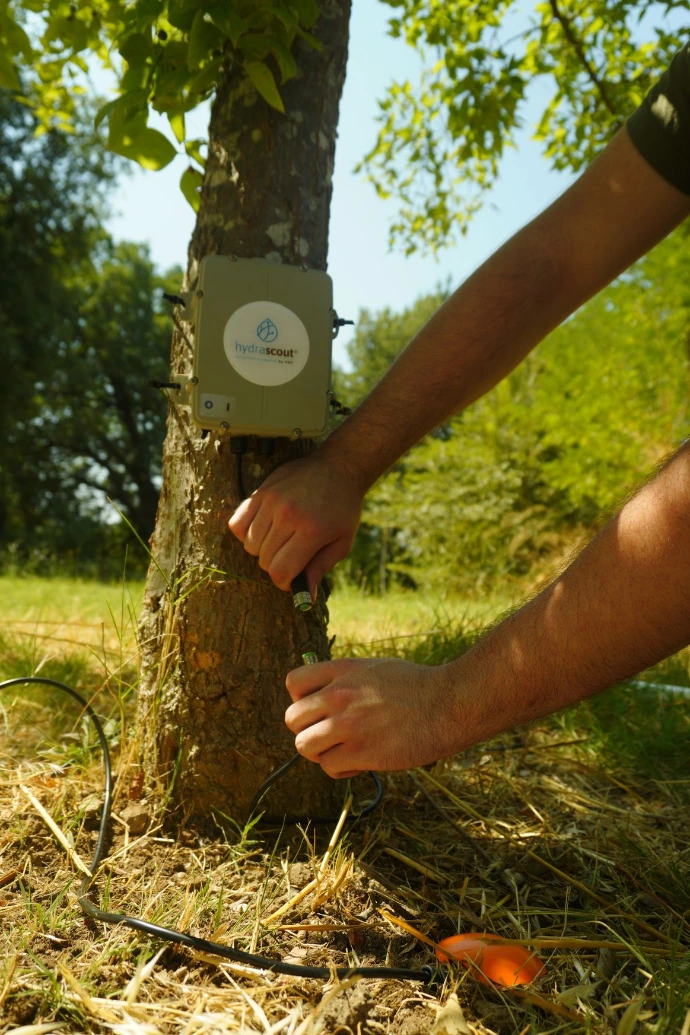
The communication unit must be installed in the immediate vicinity of the probe.
Attach it using the 4 cable ties provided (to a stake, an existing
support, or any other stable structure), making sure to position it at a sufficient height. Then connect the probe to the datalogger.
Step 7
Check the connection
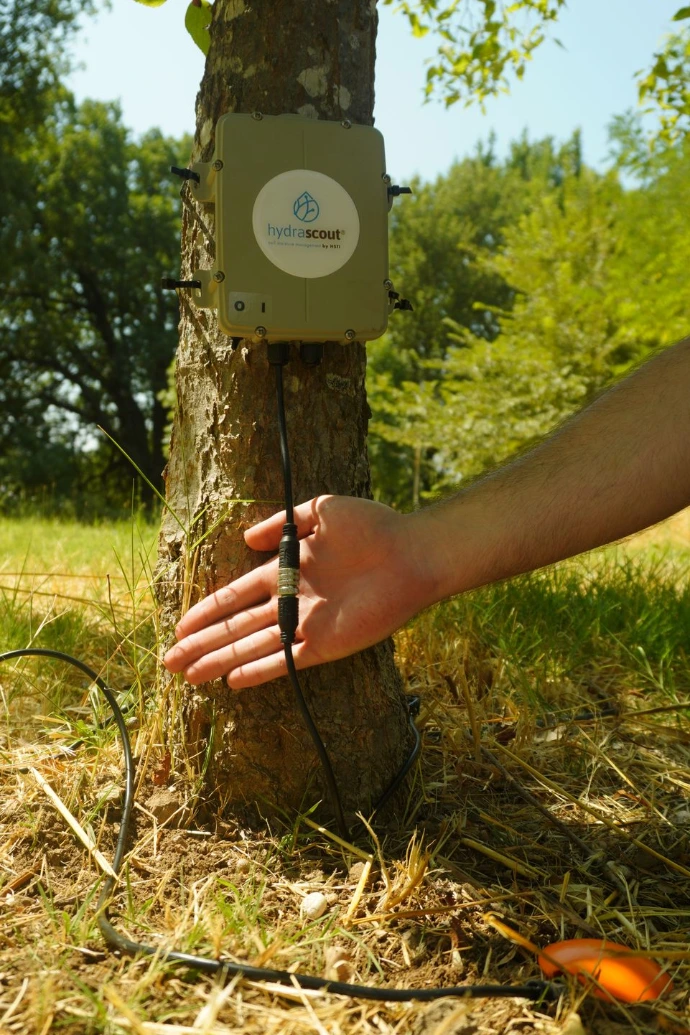
Verify that the connection matches the photo, that both parts are properly screwed together, then switch the device to the ON position.
Step 8
Log in to your
 account
Once the equipment is installed and activated, check the email you
received when you signed up.
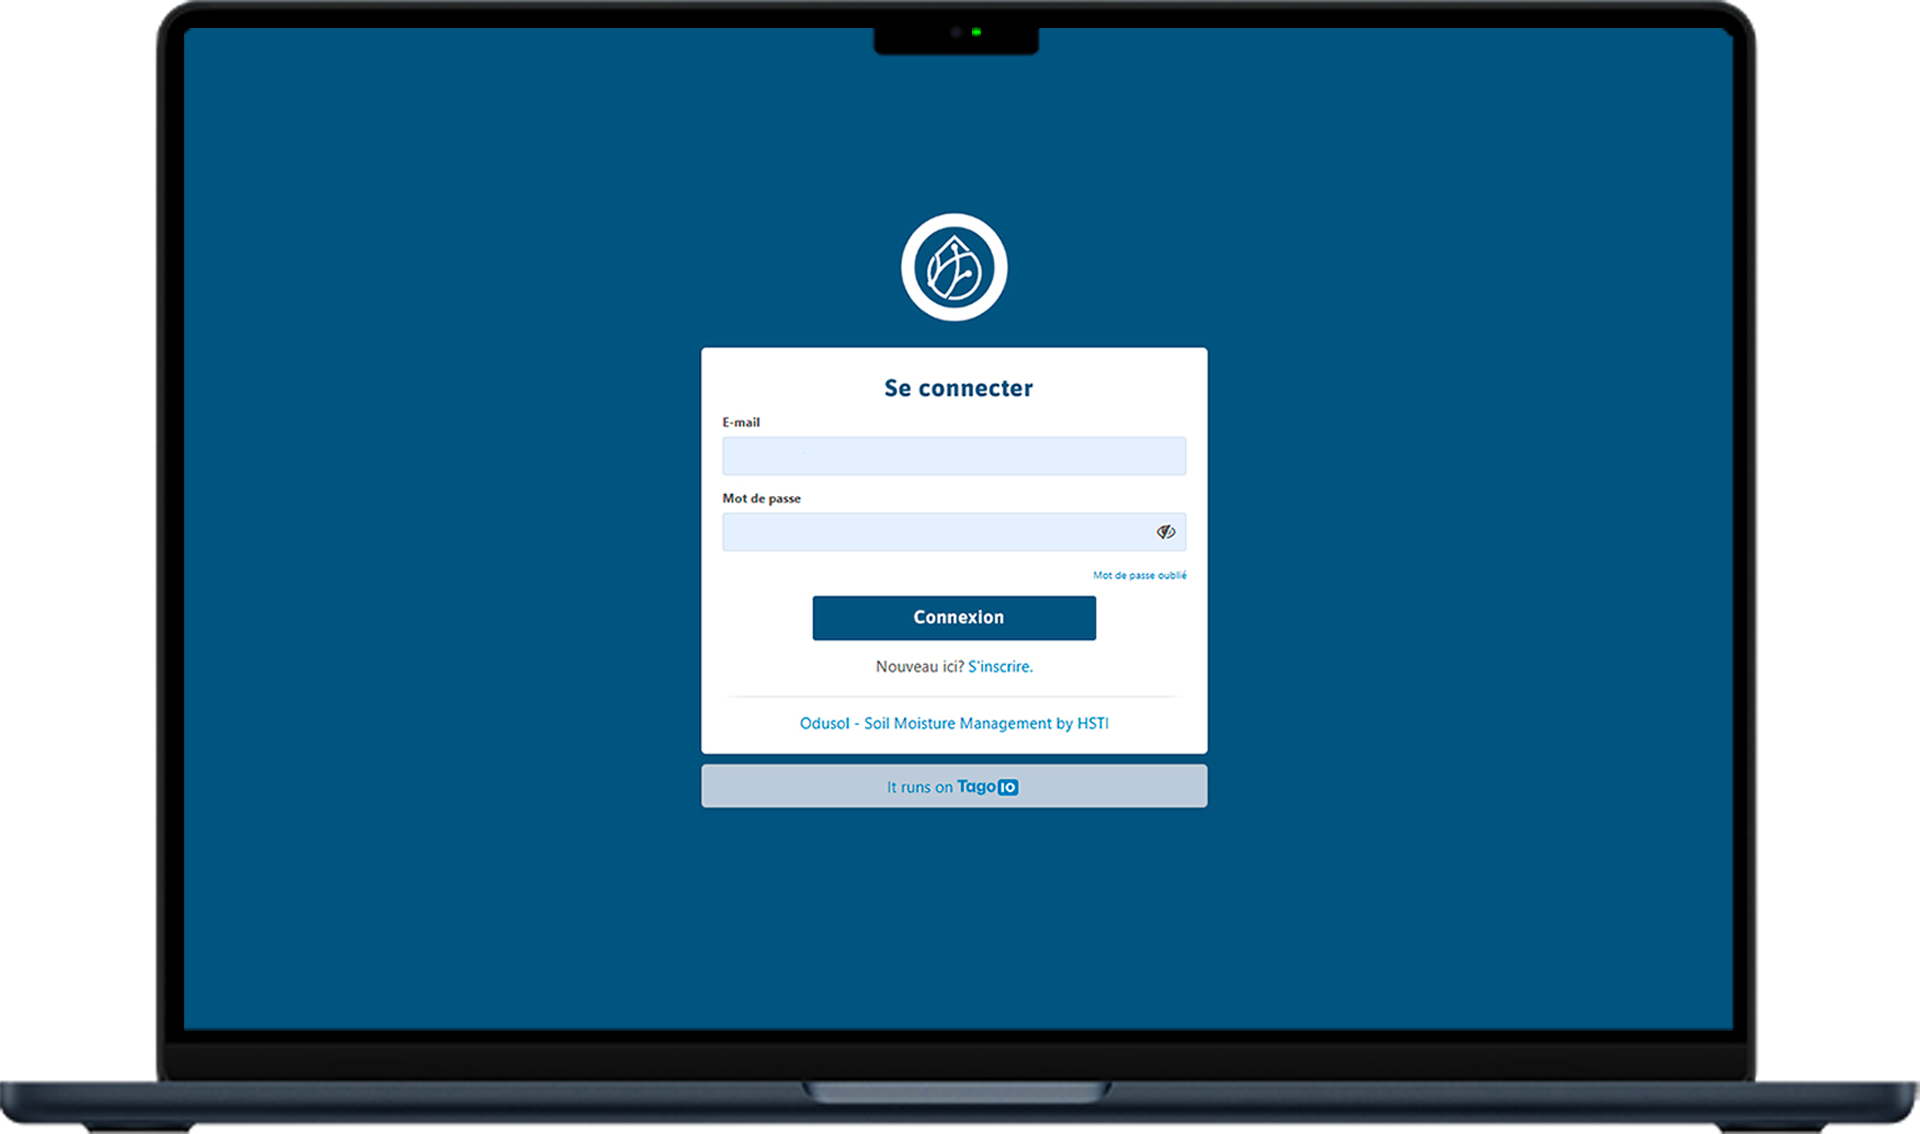
Follow the instructions to create your account, then log in to the Odusol platform to access your first data.